click for Photoshop Tutorial Project Worksheet Portrait Photos
PART 4 | COLOR BACKGROUND
Using 2-4 colors and sketches, fill color background directly onto watercolor paper up to edges of portrait.
- LEAVE DRAWING INSIDE OF PORTRAIT WHITE to fill with ink.
- Create a ‘wallpaper’ effect as though the imagery passes BEHIND YOUR FACE. Show underlapping and cropping at the edge of page and up to edge of portrait.
PART 5 | INK PORTRAIT PRACTICE PAINTING
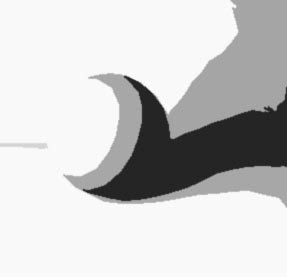
<--- PRACTICE with ink by recreating sphere at left.
- DO NOT PAINT WHITE shapes.
- Paint GRAY shapes first and allow to dry.
- Paint BLACK shapes LAST and allow to dry.
- Show as much detail as possible with the tip of your brush.
- Erase off pencil.

PAINT INK + REFINE CRAFTSMANSHIP
Follow this same process as #12 on your labeled portrait. ERASE OFF PENCIL LABEL BEFORE PAINTING EACH SHAPE.
- Slowly fill in values (light -> dark) and detailed edges on portrait.
- Layer the outer edge of portrait over background to create depth.
- Apply clean, solid edges and shapes for good craft.
- ERASE any additional pencil marks and your work is finished!
No comments:
Post a Comment